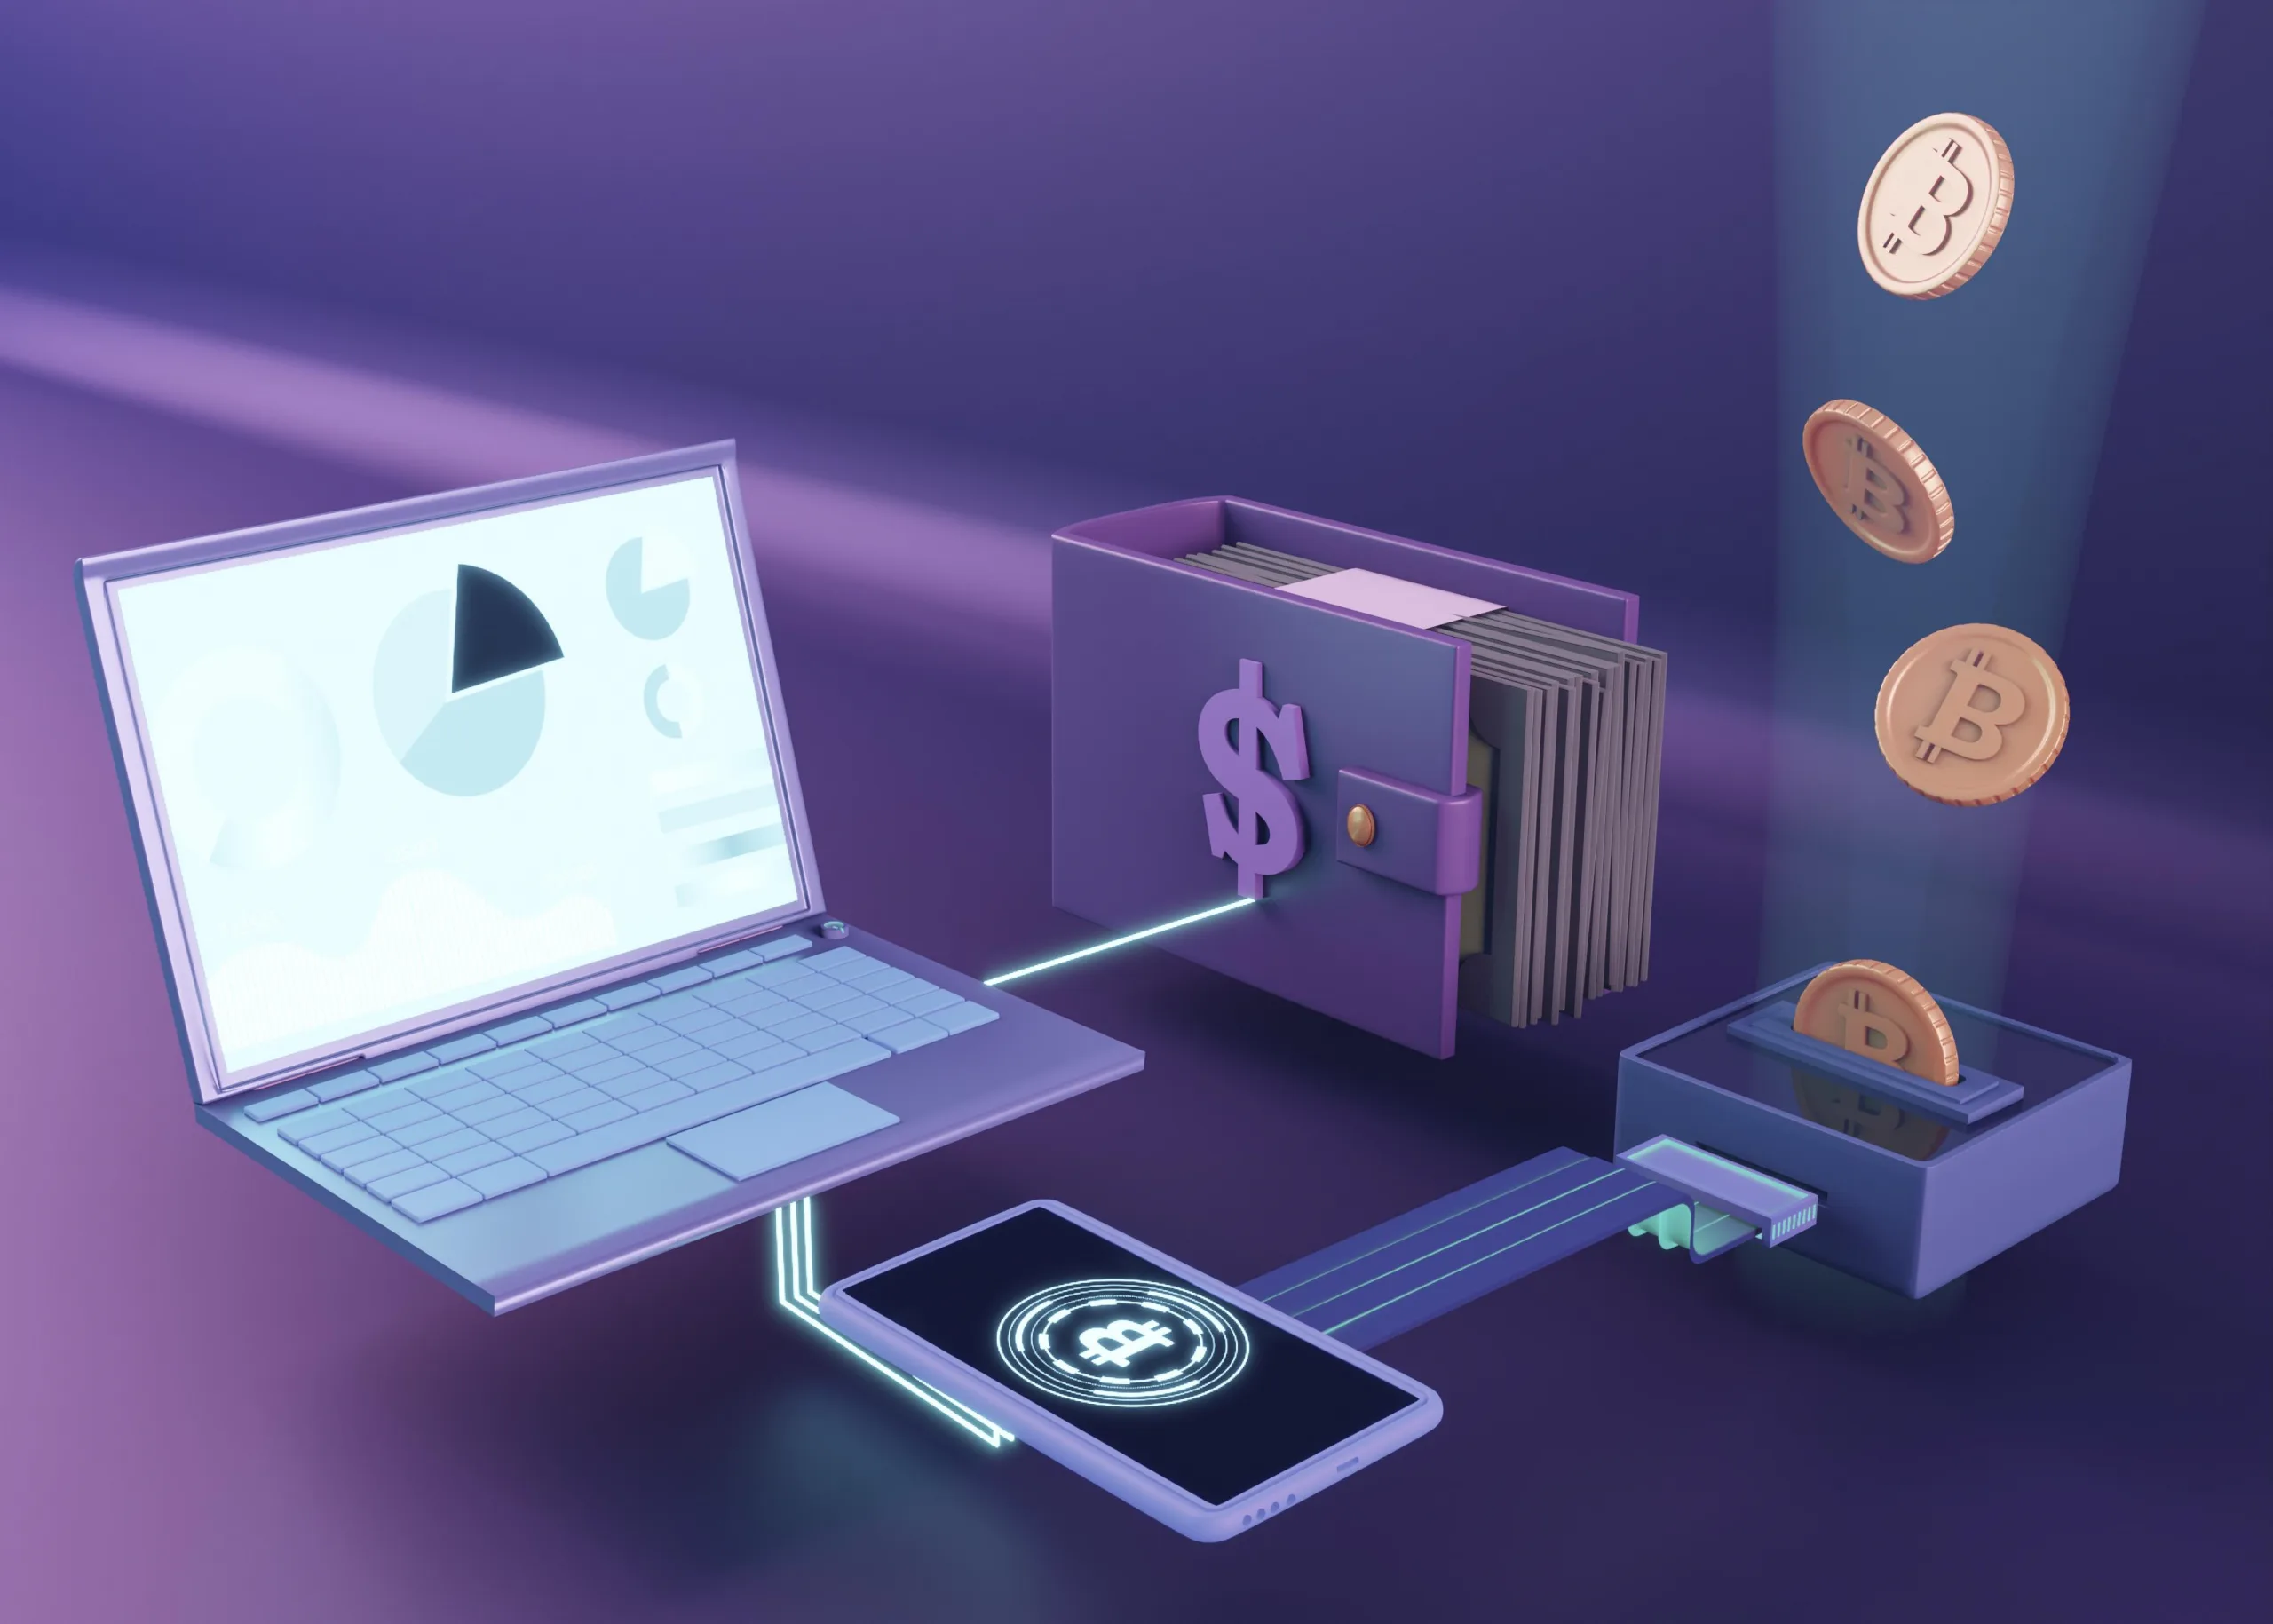
Understanding Tokens and Wallets
Cryptocurrency ownership depends on understanding two crucial elements — tokens and wallets. Tokens are digital representations of assets that exist on a blockchain. Unlike coins (such as Bitcoin or Ethereum), which have their own native blockchain, tokens rely on existing blockchains like Ethereum (ERC-20), BNB Smart Chain (BEP-20), or Solana (SPL).
A wallet, on the other hand, is your digital interface to store, send, and receive those tokens. It’s not a physical container but a software or hardware tool that securely holds your private keys — the cryptographic proof of ownership for your digital assets.
In simpler terms:
-
Coins = Native blockchain currency (e.g., ETH, BTC).
-
Tokens = Built on top of a blockchain (e.g., USDT, SHIB, APE).
-
Wallet = Tool that lets you access and manage those tokens.
Types of Crypto Wallets
When it comes to managing your crypto, you’ll choose between two main wallet categories:
-
Hot Wallets: These are connected to the internet and offer convenience. Examples include MetaMask, Trust Wallet, and Coinbase Wallet. They’re ideal for beginners who make frequent transfers or engage in decentralized finance (DeFi).
-
Cold Wallets: These are offline devices like Ledger Nano X or Trezor Model T. They store your private keys offline, making them highly secure against online attacks.
Each wallet type has trade-offs. Hot wallets are fast but more vulnerable. Cold wallets are secure but less convenient for daily transactions. Many crypto enthusiasts use both: a hot wallet for small, active balances and a cold wallet for long-term storage.
Public and Private Keys Explained
Every crypto wallet has two keys:
-
Public Key: Like your account number — you can safely share it to receive tokens.
-
Private Key: Like your password — never share it.
When transferring tokens between wallets, you’ll use the recipient’s public address. The blockchain uses cryptography to ensure that only the holder of the private key can access those funds. Losing your private key means permanently losing access to your assets, so it’s essential to back it up securely (preferably offline).
Why Transferring Tokens Between Wallets Is Important
For beginners, transferring tokens between wallets might seem unnecessary, but it’s a crucial skill in cryptocurrency management. There are several reasons you might want to transfer tokens:
-
Security: Moving tokens from an exchange wallet to a personal wallet reduces the risk of exchange hacks.
-
Portfolio Management: You might want to organize tokens across multiple wallets for tracking and budgeting.
-
Participation in DeFi: To stake, lend, or swap tokens, you’ll often need to move them to decentralized wallets.
-
Hardware Backup: Long-term investors prefer transferring their assets to cold wallets for safekeeping.
Simply put, transferring tokens isn’t just about movement — it’s about control and security.
Preparing for a Token Transfer
Before initiating any transfer, ensure the following steps are completed:
-
Verify the recipient address: Always copy-paste (never type manually) to avoid errors.
-
Check token type: Confirm that the receiving wallet supports the specific token standard (e.g., ERC-20).
-
Ensure network compatibility: Sending tokens on the wrong blockchain network can lead to permanent loss.
-
Maintain sufficient gas fees: Every blockchain requires a transaction fee (ETH for Ethereum, BNB for BNB Chain, etc.).
Even one small mistake — such as sending a token to an unsupported address — can result in an irreversible loss.
Choosing the Right Blockchain Network
Each token exists on a specific blockchain. When transferring tokens between wallets, ensure that:
-
You select the correct network in both the sending and receiving wallets.
-
For example:
-
USDT (ERC-20) → Use the Ethereum Network.
-
USDT (BEP-20) → Use the BNB Smart Chain.
-
Some tokens exist on multiple chains, and sending them over the wrong one can result in your tokens being stuck or lost. Always double-check the network before confirming a transaction.
Gas Fees and Transaction Costs
Gas fees are small charges paid to blockchain validators for processing transactions. These fees vary depending on:
-
Network congestion (more traffic = higher fees).
-
Transaction size and complexity.
For instance, Ethereum fees might spike during NFT launches or heavy DeFi activity. Beginners should check the estimated fee before confirming a transfer. Most wallets show this information clearly.
Step-by-Step Process of Transferring Tokens Between Wallets
Now, let’s break down the actual process of transferring tokens safely and efficiently.
Sending Tokens Using a Hot Wallet (MetaMask Example)
-
Open MetaMask and log in.
-
Select the token you want to transfer.
-
Click “Send”.
-
Paste the recipient wallet address.
-
Confirm the network (Ethereum, BNB, etc.).
-
Set gas fee preferences (standard, fast, or slow).
-
Click “Confirm” and wait for blockchain verification.
Within minutes, the transaction will appear in both wallets.
Sending Tokens Using a Cold Wallet
Cold wallets like Ledger and Trezor require an additional security step: physical confirmation.
-
Connect your hardware wallet to your computer.
-
Open the companion app (e.g., Ledger Live).
-
Enter the recipient address and amount.
-
Physically confirm the transaction on the device.
This physical verification prevents unauthorized transfers, making cold wallets the gold standard for large holdings.
Confirming and Tracking Transactions
Once a transaction is sent, you can verify its progress using blockchain explorers:
-
Etherscan.io for Ethereum
-
BscScan.com for BNB Chain
-
Solscan.io for Solana
Simply paste your transaction hash (TxID) to view real-time confirmation status, gas fees, and network activity.
Common Mistakes to Avoid When Transferring Tokens
Even experienced users occasionally make costly mistakes when transferring tokens between wallets. For beginners and students, awareness of these errors can prevent unnecessary losses.
1. Sending to the Wrong Address
Unlike traditional banking, blockchain transactions are irreversible. Once you send tokens to an incorrect address, they’re gone forever. Always copy-paste the address carefully and double-check the first and last four characters before confirming.
2. Choosing the Wrong Network
Many tokens exist across multiple blockchains. For instance, USDT can exist as ERC-20, BEP-20, or TRC-20. Sending it via the wrong network will cause it to disappear from the destination wallet.
💡 Tip: Match the network on both sending and receiving ends before confirming.
3. Ignoring Gas Fees
If you try to send tokens without enough gas fees (like ETH or BNB), your transaction might fail or get stuck pending. Always check your wallet’s available balance and the estimated gas fee before proceeding.
4. Failing to Update Wallet Software
Outdated wallet versions can cause compatibility errors or even security vulnerabilities. Regularly update your wallet applications (mobile, desktop, or browser extensions).
5. Falling for Phishing Scams
Always verify official wallet links. Fake websites or mobile apps may look legitimate but are designed to steal private keys. Bookmark the official pages of your wallet provider to stay safe.
How to Recover Lost Tokens (If Possible)
Unfortunately, blockchain transactions are immutable, meaning once confirmed, they cannot be reversed. However, recovery might be possible in limited cases:
-
Sent to an Exchange Wallet:
Contact the exchange’s customer support. Some centralized exchanges might assist if the transaction reached a known wallet. -
Sent via Wrong Network:
If both blockchains use the same wallet infrastructure (e.g., MetaMask supports both Ethereum and BNB Smart Chain), you might recover tokens by adding the correct network manually. -
Using Recovery Tools:
Some blockchain recovery services can assist, but be cautious — many are scams. Always verify before using any third-party tool.
Important Note: There’s no central authority in blockchain. The safest approach is always prevention over recovery.
Security Best Practices for Safe Transfers
As digital currencies grow, cyber threats evolve. To stay secure, implement these best practices every time you transfer tokens between wallets.
1. Enable Two-Factor Authentication (2FA)
If your wallet supports 2FA, enable it immediately. It adds a crucial second layer of protection.
2. Store Private Keys Offline
Never share your private key or seed phrase online. Store it on paper or an encrypted USB drive in a safe location.
3. Use Test Transfers
When sending large amounts of crypto, always start with a small test transfer. Once confirmed, send the remaining amount.
4. Avoid Public Wi-Fi
Never execute crypto transfers using public Wi-Fi networks (like coffee shops or airports). Always use a private, secure connection.
5. Backup Your Seed Phrase
Your seed phrase is the master key to your wallet. Write it down on paper and store it in multiple safe locations.
Using Test Transfers for Safety
Beginners often overlook this simple yet vital step. Before transferring the entire token amount, send a small fraction (like $1 worth) to the recipient wallet.
Why it matters:
-
Confirms network compatibility.
-
Verifies address accuracy.
-
Ensures the wallet supports the token.
After successful confirmation, proceed with the full amount confidently.
Advanced Tips for Managing Multiple Wallets
As you gain experience, you’ll likely manage several wallets across different blockchains. Here’s how to do it efficiently and securely.
1. Use Portfolio Tracking Tools
Platforms like Zapper, Debank, and CoinStats allow you to monitor balances across multiple wallets and networks in one dashboard.
2. Label Your Wallets
To avoid confusion, give each wallet a clear label (e.g., “Main Wallet,” “DeFi Wallet,” “Savings Wallet”).
3. Keep a Transaction Log
Maintain a simple spreadsheet or use a portfolio tracker to record each transfer — including amount, network, and transaction ID (TxID).
Using WalletConnect and Bridges
Cross-chain transfers are becoming increasingly common. WalletConnect enables you to link decentralized apps (dApps) securely without exposing your private keys.
For example, you can connect your MetaMask wallet to a DeFi platform like Uniswap through WalletConnect for seamless token interactions.
Bridges, like Multichain.org or Portal Bridge, allow you to transfer tokens between different blockchains — such as from Ethereum to Polygon.
⚠️ Always verify that the bridge is legitimate before transferring tokens. Fake bridges are a common target for hackers.
Real-World Example: Transferring USDT from MetaMask to Trust Wallet
Let’s apply what we’ve learned with a real-world scenario.
Step 1: Check Network Compatibility
USDT exists in multiple formats — ERC-20, BEP-20, and TRC-20. In this example, we’ll use BEP-20 (BNB Smart Chain).
Step 2: Open MetaMask
-
Log into your MetaMask account.
-
Ensure it’s connected to the BNB Smart Chain.
Step 3: Copy Trust Wallet Address
-
Open Trust Wallet.
-
Select BNB Smart Chain (BEP-20).
-
Tap “Receive” and copy the wallet address.
Step 4: Transfer USDT
-
Go back to MetaMask.
-
Click “Send.”
-
Paste the Trust Wallet address.
-
Select USDT (BEP-20) and input the amount.
-
Confirm gas fees and click “Confirm.”
Step 5: Verify Transaction
After a few minutes, open BscScan.com, paste your transaction hash, and confirm successful delivery.
Troubleshooting Common Errors
If something goes wrong, here’s what to do:
-
Transaction Pending: Increase gas fees slightly and resubmit.
-
Tokens Not Visible in Receiving Wallet: Add the custom token contract address manually.
-
Transfer Failed: Review your gas fee and ensure network selection is correct.
Frequently Asked Questions (FAQs)
1. How long does it take to transfer tokens between wallets?
Depending on the blockchain, transactions usually take between 10 seconds and 10 minutes. Ethereum can be slower during network congestion.
2. What happens if I send tokens to the wrong network?
If the wallet supports both networks, you might recover them by adding the correct network manually. Otherwise, the tokens could be lost permanently.
3. Are there fees when transferring tokens between wallets?
Yes. Each blockchain requires gas fees, which vary depending on network congestion.
4. Can I transfer tokens between different wallet types (e.g., MetaMask to Ledger)?
Absolutely. As long as both wallets support the same network and token type, transfers are seamless.
5. Is it safe to store large amounts in a hot wallet?
Hot wallets are convenient but vulnerable. For large holdings, use a cold hardware wallet.
6. Can I reverse a token transfer?
No. Once confirmed on the blockchain, transfers are irreversible. Always double-check addresses and amounts beforehand.
Conclusion and Final Thoughts
Transferring tokens between wallets is a fundamental skill for anyone entering the world of cryptocurrency. With practice, you’ll develop confidence and precision in handling blockchain transactions.
Always prioritize security, verification, and accuracy. A single mistake can lead to irreversible losses, but by following the best practices in this guide, beginners and students can safely navigate the world of digital asset transfers.
Remember: control over your tokens means control over your financial future. Take time to learn, stay cautious, and use reliable wallets and networks every time you move crypto.
External Resource
For more beginner-friendly blockchain tutorials and educational resources, visit Binance Academy.


Discussion (0)